A while ago I got really intrigued by FDM 3D printers. The reasonably priced ones are quite crude still, showing their reprap roots. Very few if any options exists if you just want to plug & print and they’re still pretty expensive considering what you get. After finding the kickstarter project for the Printrbot jr I started to think it might be a good compromise. It’s fairly cheap but still pretty capable and easy to hack/modify.
When the kickstarter project that I backed on impulse failed I continued reading a lot, viewed the assembly videos, read Make Magazine’s guide and agonized a bit. Then I finally ordered the Jr kit with some extra accessories on January 2nd. It was shipped on the 25th and finally got to Sweden with me picking it up the same day on February 4th. In addition to the Jr kit I also purchased the Printrbot Power Tower, a birch filament spool and an additional 1kg spool of natural PLA filament.
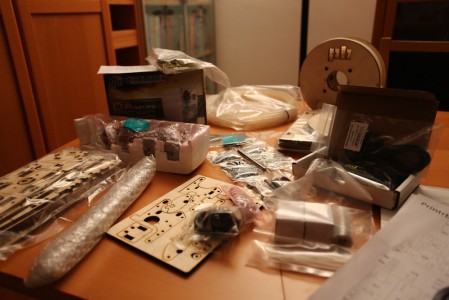
As you can see in the picture I got the Jr version with an ATX power supply, either because they’re only shipping the newer version with a small 12V adapter in the US or because I ordered the Power Tower. I might want to add a heated bed later on for ABS plastics so I’m happy with the ATX power supply though. Very nice that the 1kg of PLA filament came on a printrbot birch spool.
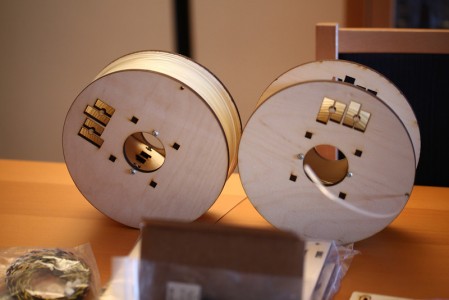
After a rough check that all of the parts seemed to be there I decided to start with the birch spool and then put the 1lb roll of filament that was included in the kit on it. Putting together the spool sort of eases you into the business of laser cut plywood mounted together with weird (to me) imperial screws and nuts. Getting the filament onto the spool wasn’t as easy as you would think, got the tip later on from a friend that heating it up a little bit would have helped (only to 30 degrees C). It did not act very friendly at all at noral room temperature.. The one to the right below is the one I put together.
I plan to keep adding posts detailing my progress! Next up is the power tower!


