
After assembling the birch spool I upped the difficulty level slightly and decided to take on the Power Tower. Still easy compared to the actual printer, but allows you to start getting a feel for how much you should tighten the screws.
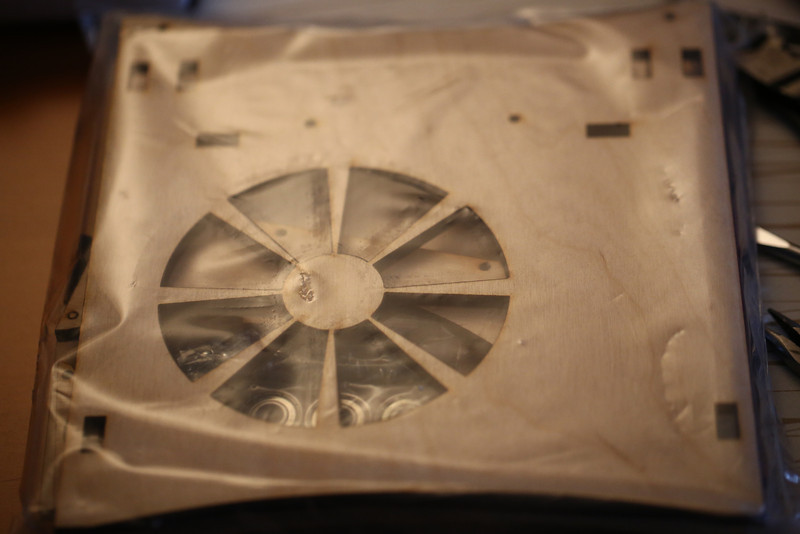
All of the Power Tower laser cut parts, screws, nuts, bearings etc came in a sealed plastic bag. Note the fan cutout in one of the sides, it doesn’t seem to be there in the instructions, but very nice if you change to a more powerful power supply that either has a the fan on the bottom or has two fans. After opening the bag I put everything in a nice little pile.

Power Tower parts
And then I sorted the screws, and figured out which had which length (I love the metric system).
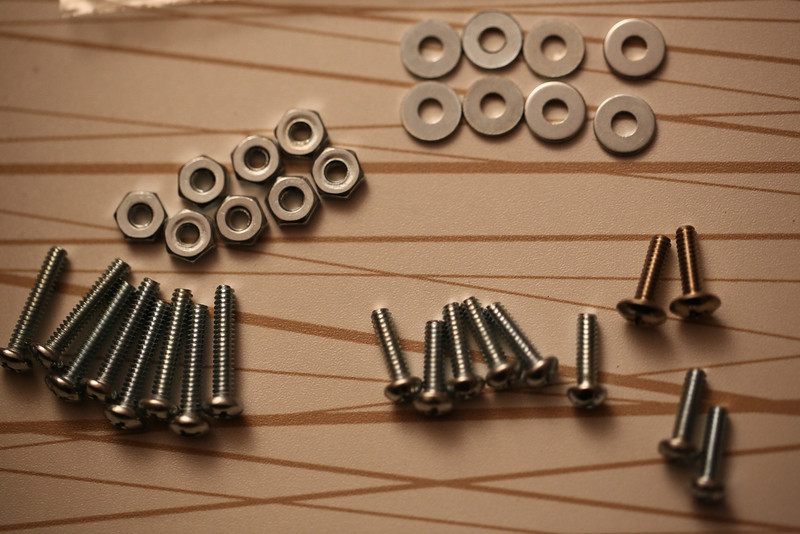
Power Tower screws and nuts
As you can see on the picture above there’s a bunch of pieces of wood that the laser hasn’t fully succeeded in cutting all the way through. With the help of a sharp knife and some force I got them out, you can see them below:
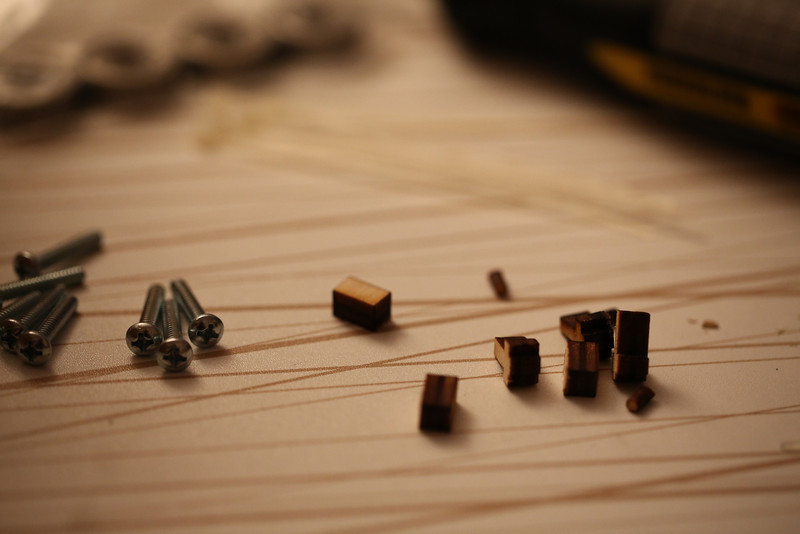
Power Tower LC leftovers
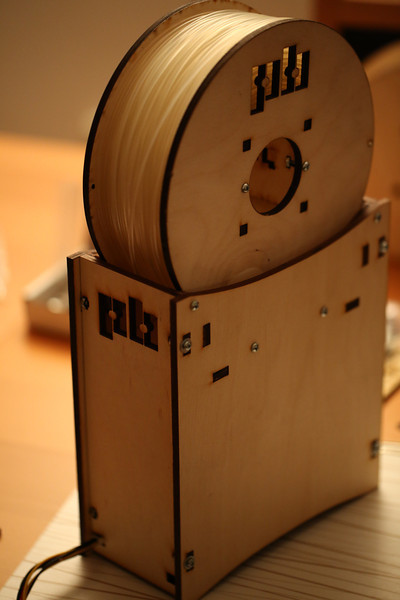
After that it was pretty easy to follow the guide and assemble the tower. The only real problem I had was that the rear cutout that fits onto the back of the power supply didn’t quite fit. I used a file to make some more room for the power socket plastic frame, followed by a bit of force. Paused to take a picture when I was about halfway done, before the spacers and bearings on the top half for the spool:
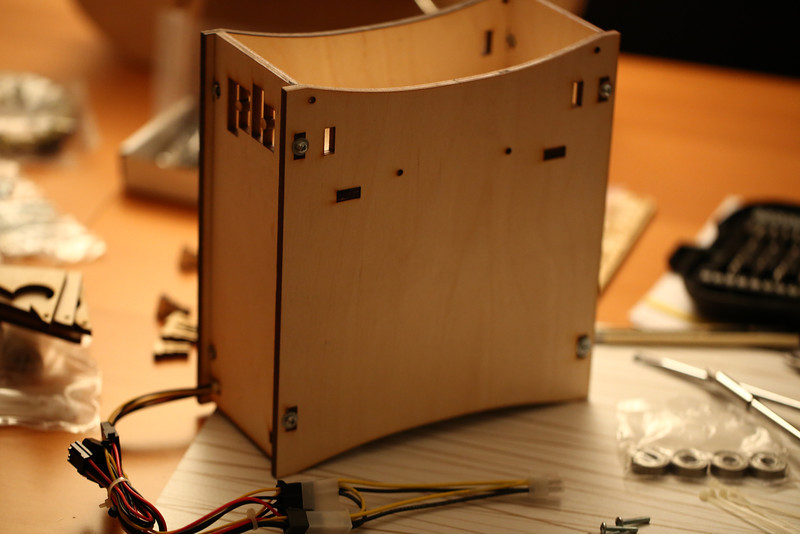
Power Tower halfway
As you can see above I also got some zip ties and tried to make the cabling look a little bit nicer. Getting rid of the unused connectors would be nice… Didn’t take long to finish up, a good tip is to make sure the screws near the top aren’t tightened, otherwise it’s next to impossible to get the spacer plywood pieces in there.
Power Tower done!