
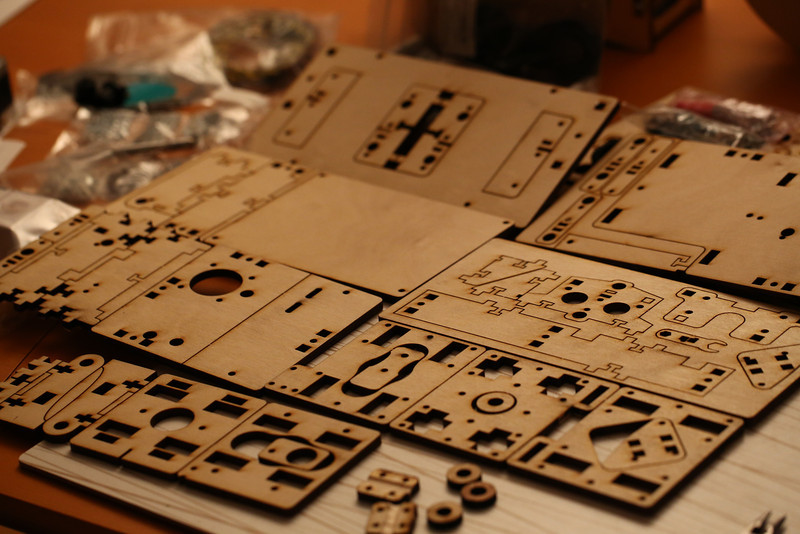
Finally got some time to work on assembling the actual printer. Started out with going through the LC parts to check if they were all there. Also snapped some photos of other components:
printrbot
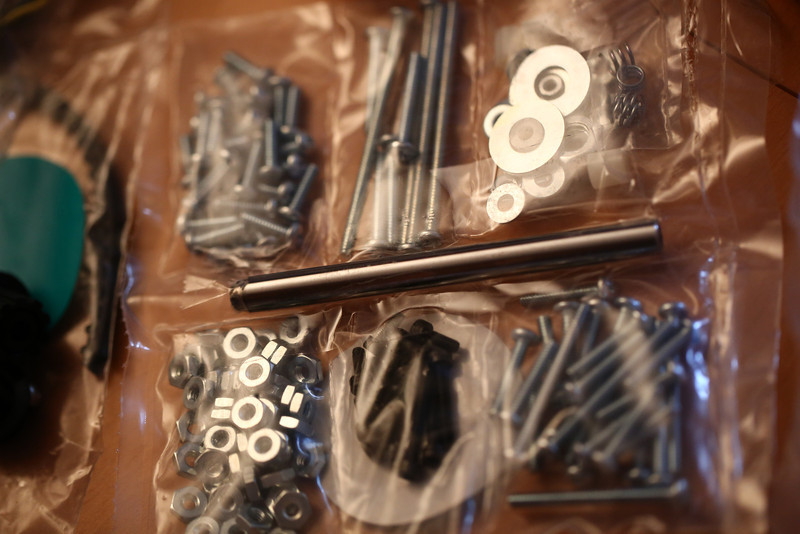
Screws, nuts, etc. Nicely packed in sealed plastic bag.

Rods, note the two shorter ones are taped and tagged that they’re for the X carriage.
Two big and two small stepper motors. There’s a sticker on the printed copy of the BOM about the uses of the two different sizes, see below.
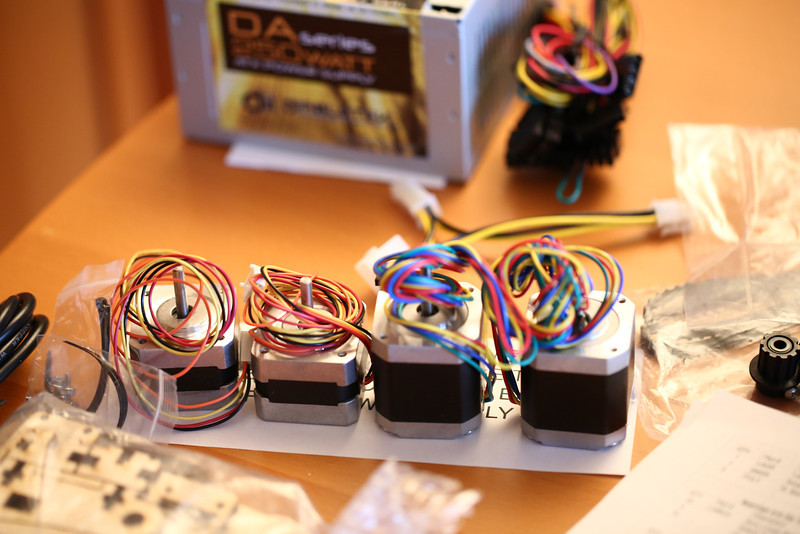
The stepper motors with the power supply in the background.
The herringbone gears seem to mesh pretty well even though they don’t look very pretty in some places, but I’m probably replacing them with normal gears eventually, when the printer is up and running that is. Or perhaps do what I’ve seen others do and order them from Shapeways instead.
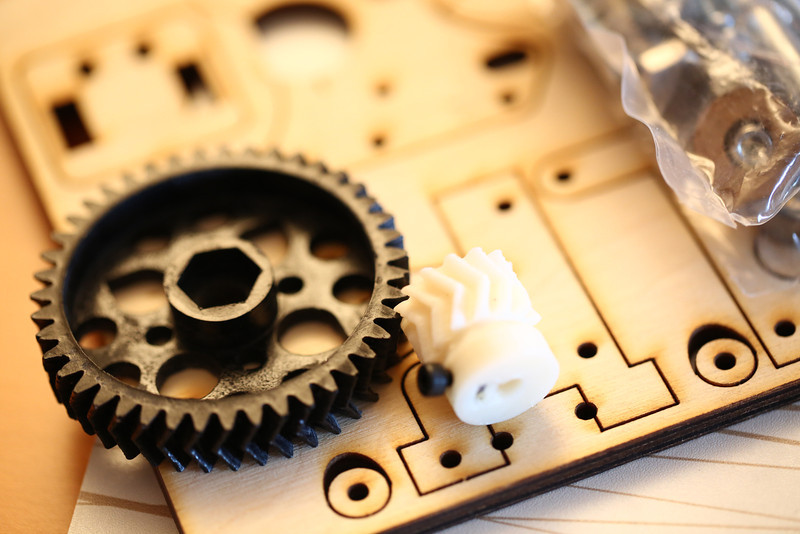
Herringbone gears and the rest of the extruder kit.
Saw someone else the other day that also had JR written on a couple of places on the printrboard. My guess is that they printrbot guys have configured it with the proper dimensions? Can’t find the printrbottalk.com thread right now.
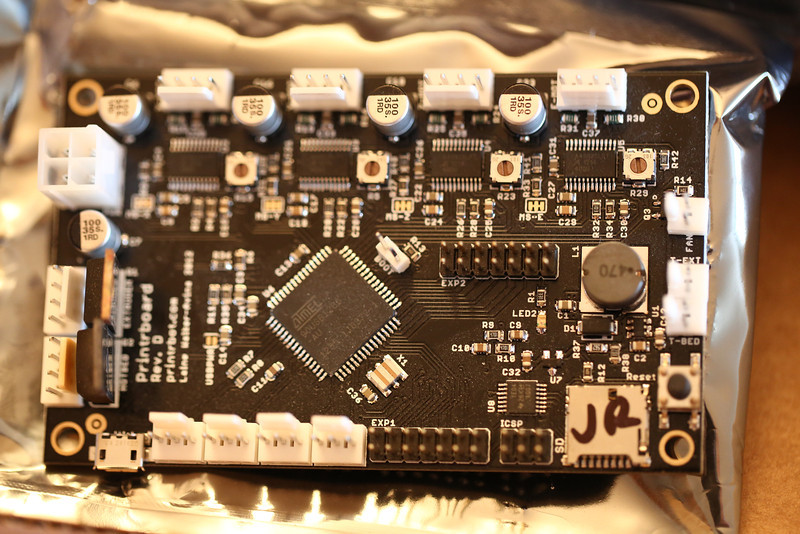
printrboard from above

printrboard from the side
Note that the printed copies of the BOM and the laser cut part numbers are newer than the ones on the web site!
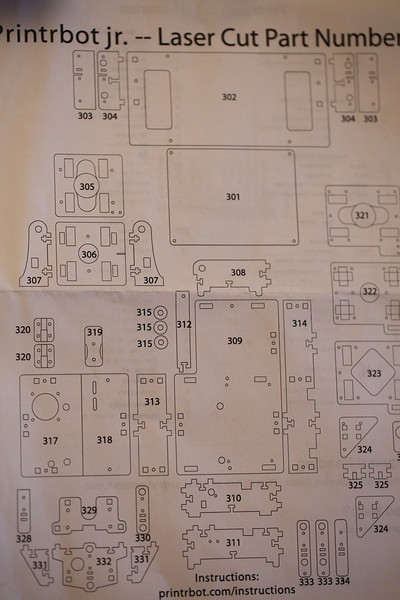
printr bot lc part numbers
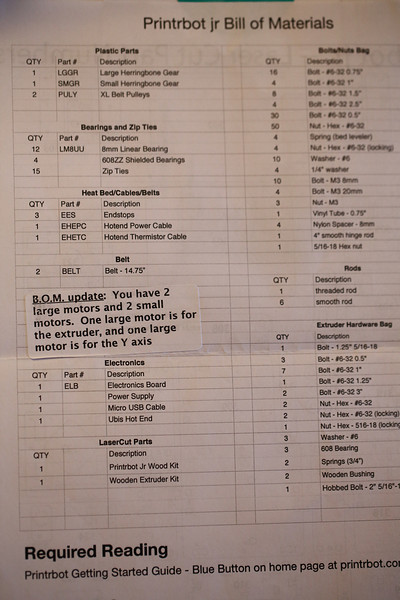
printrbot jr updated BOM
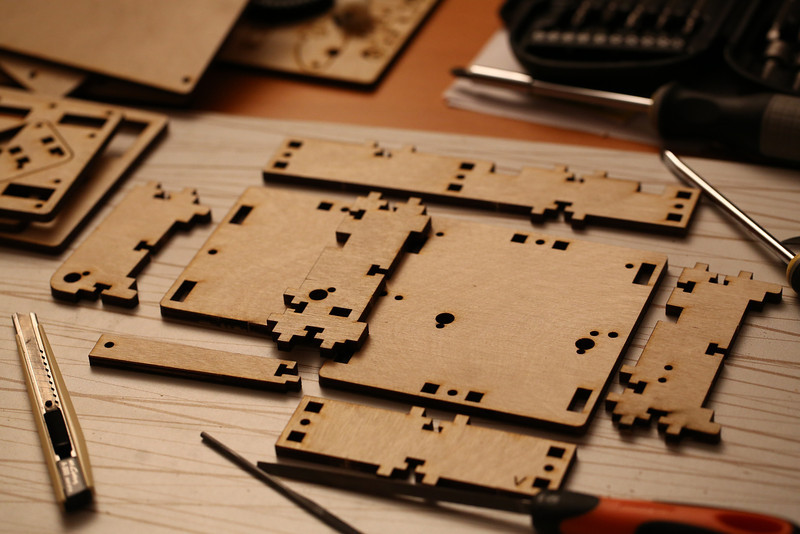
It’s a bit difficult and slightly scary at first to snap off the remaining small tabs of plywood that connects the laser cut pieces. So far I’ve only managed to damage one of the pieces that’s not used, a couple of layers of plywood broke off. Would probably have been easy to fix with some wood glue though. After breaking them apart I use some small files to sand down the protrusions. Only one piece so far had some damage already:
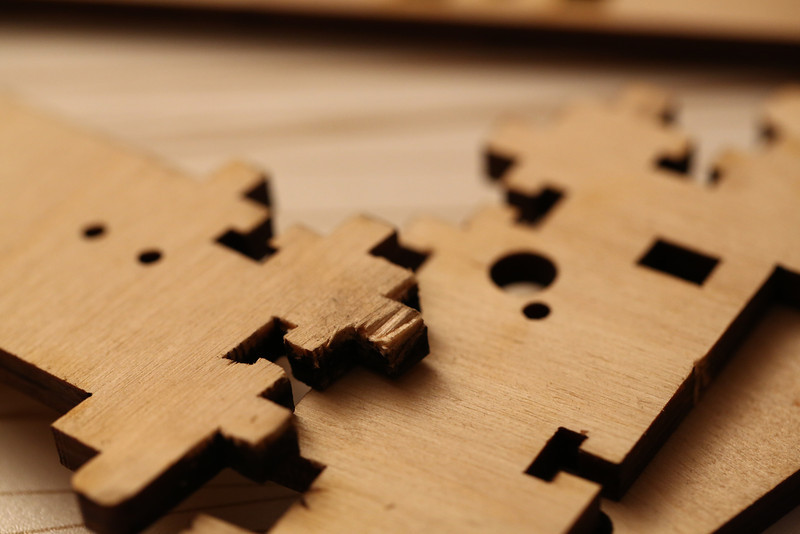
Slightly damaged LC part, not a problem though.
The instructions are actually pretty good, make sure to use the new updated ones though, but it looks like they’re now the default. Videos are good, I’ve watched them a while back as I said in an earlier post but now I’m rewatching them at night in bed, and then I use the instructions when I actually do the assembly.
Started off with the base, as instructed. There is a lot of creaking and some force needed, but as Brook says in the video that just feels good. Had to leave the screws very loose to retain some flexibility for when the first part of the lid went in, it was a bit tricky.
Pieces for the base.
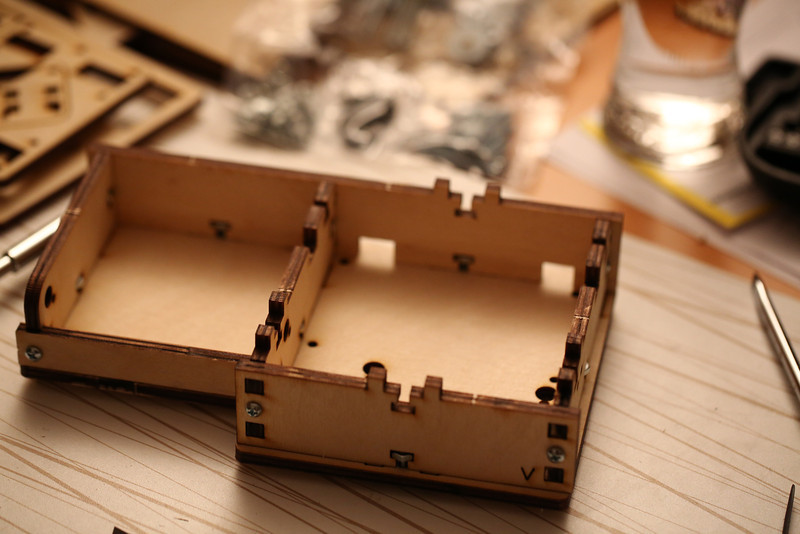
Base done!
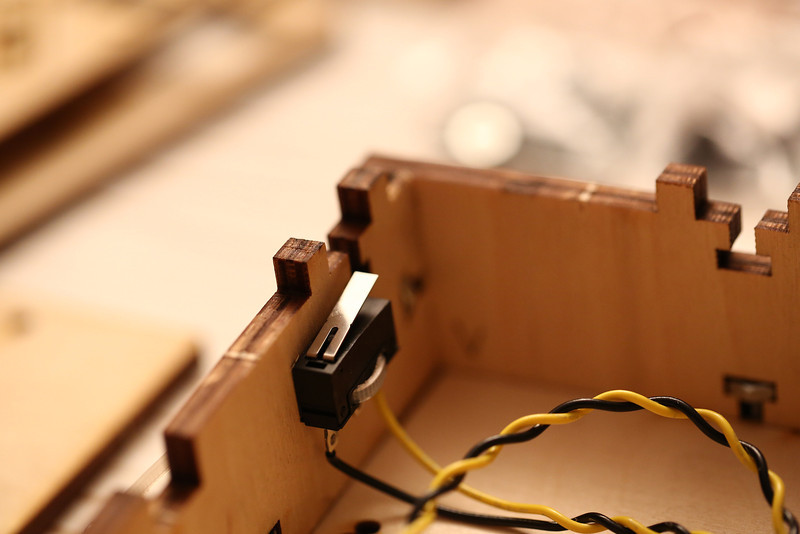
Z endstop in place!
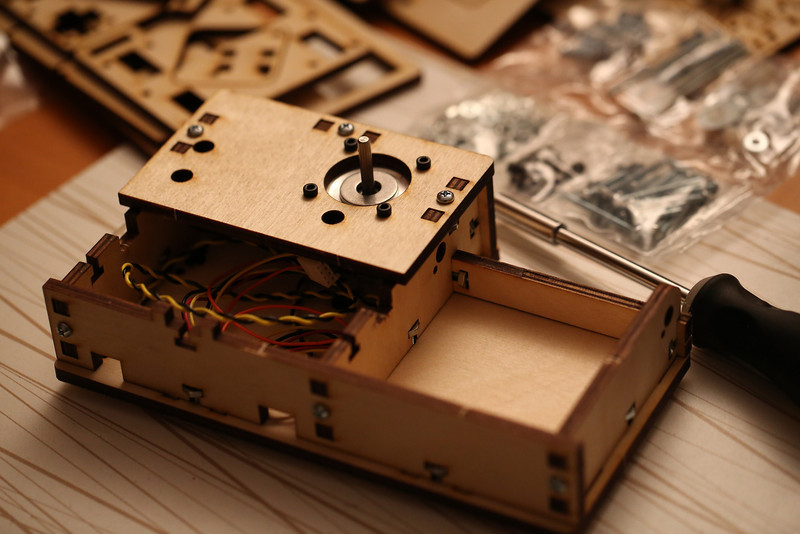
Z stepper in place.
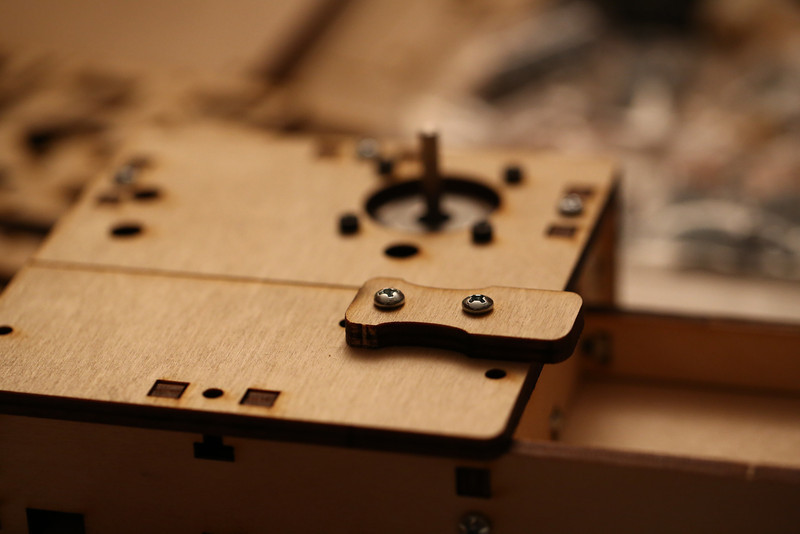
Locking mechanism for the foldable bed, test mount to check if it fits.
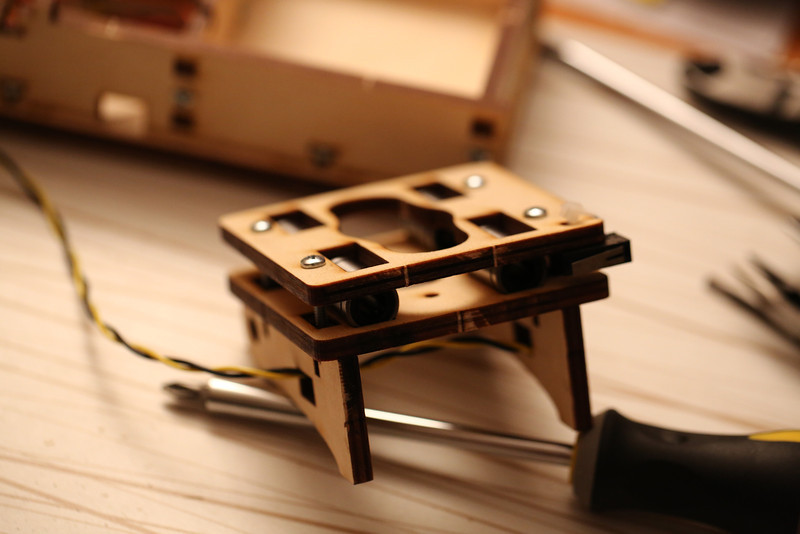
X carriage with endstop.
It’s a little tricky to get this sandwich screwed together, but there’s a good tip in the instructions.
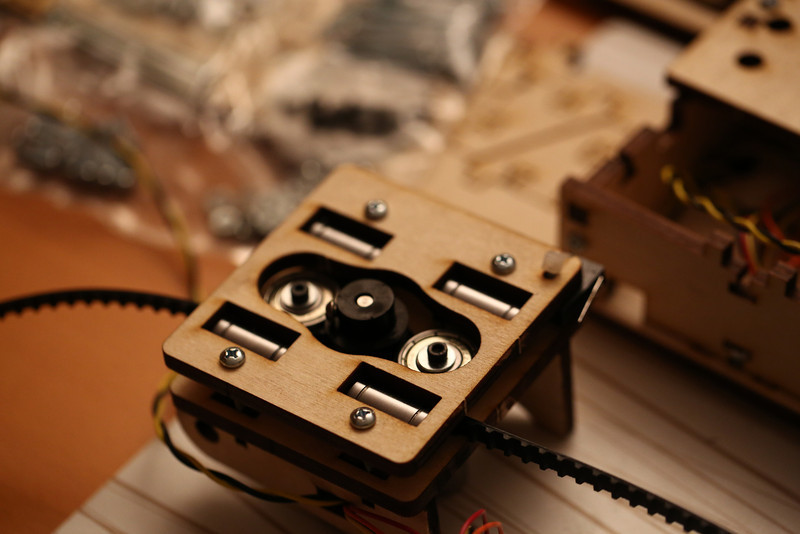
X carriage again, with stepper, pulley, bearings and belt added.
A weird thing with the instructions for the ends of the print platform is the screw lengths, the single screw that’s supposed to have a nylock on it is too long, I don’t have any 1″ screws at all. Only 0.5, 0.75, 1.25 and 1.75 if I remember correctly (used my digital caliper since I suck at imperial measurements). We’ll see how things work out later on, worst case I’ll be missing screws of the appropriate lengths later and I guess I might have to saw of a bit of the one sticking out of the nylock nut now. I’m guessing it’s there to press on the X endstop switch? Need to check if there’s any M screws and nuts that is a good fit instead of the 6-32 (!) screws and nuts.

printrbot bed mount with leveling springs.
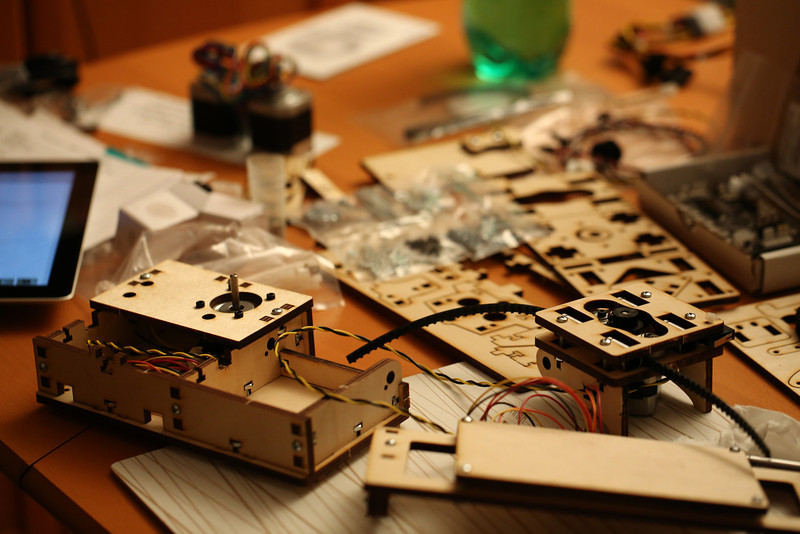
Progress so far.
Pingback: Printrbot jr assembly part 2 | Christian Kullander
Pingback: Printrbot jr assembly part 3 | Christian Kullander
Pingback: Printrbot Jr assembly part 4 | Christian Kullander