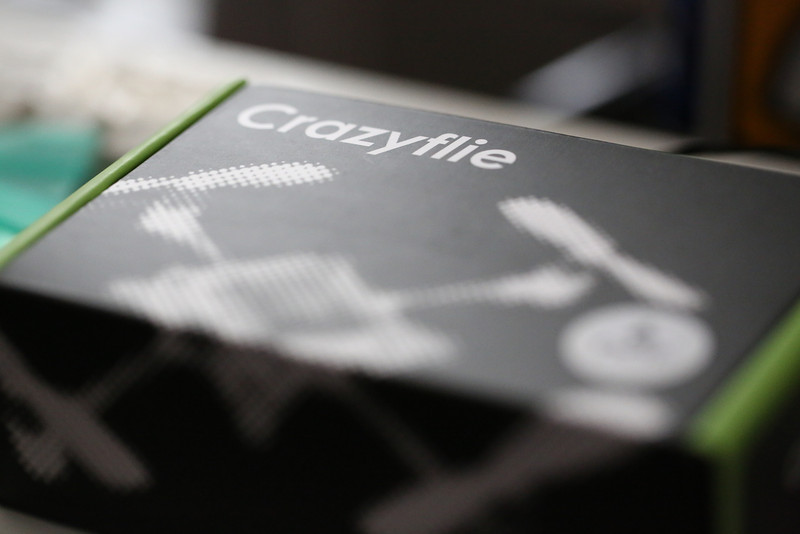
I actually did assemble the Crazyflie the day after my last post but didn’t finish this one until now. My tweet that night summarizes it nicely:
In spite of my sad soldering skills my Crazyflie has flown for the first time! Its name isn’t as weird as it sounds, it is actually crazy.
— Christian Kullander (@ckk) May 8, 2013
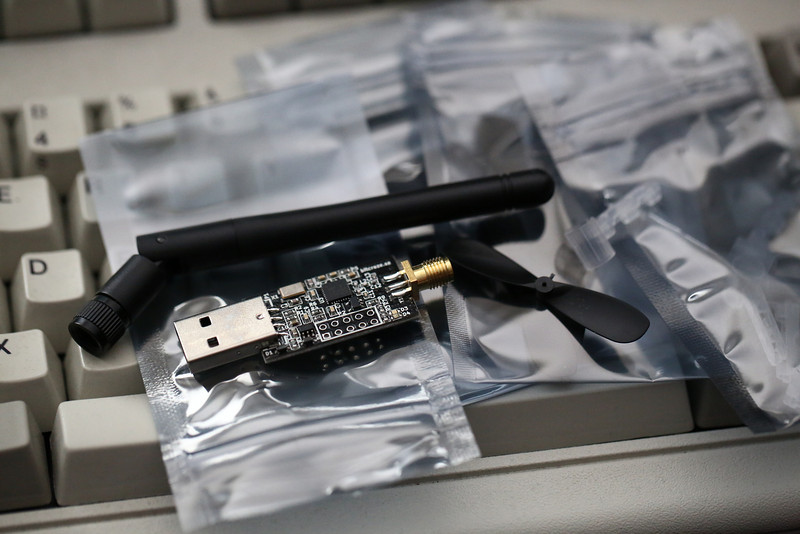
The assembly instruction on the bitcraze wiki are pretty straightforward, at least now that they have been tweaked a bit, they were a bit more tricky when I did this. I used one of those cheap 3rd/helping hand things to make it slightly easier, but my soldering skills that are reasonably good when working with larger items and pads were definitely put to the test.
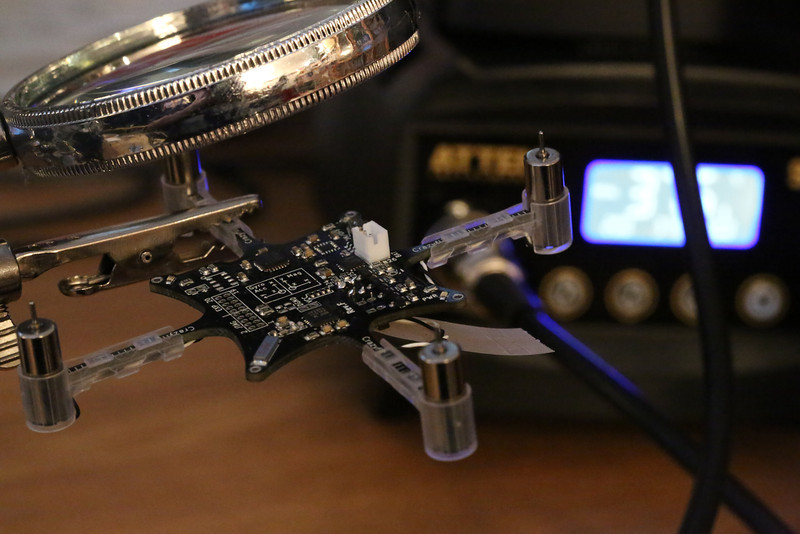
The 3rd hand helped a lot, wished the magnifying glass was better though.
Using some tape to hold down the wires is definitely recommended!
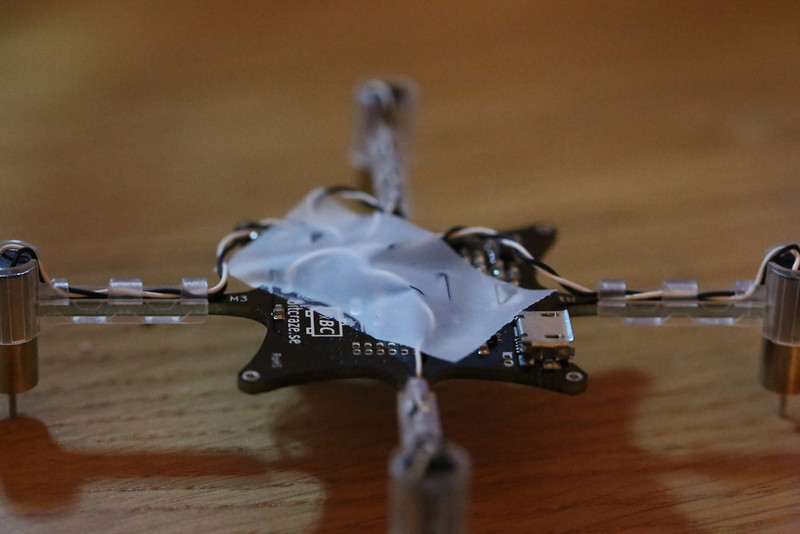
Using some Scotch Magic tape is recommended if you want to keep your sanity.
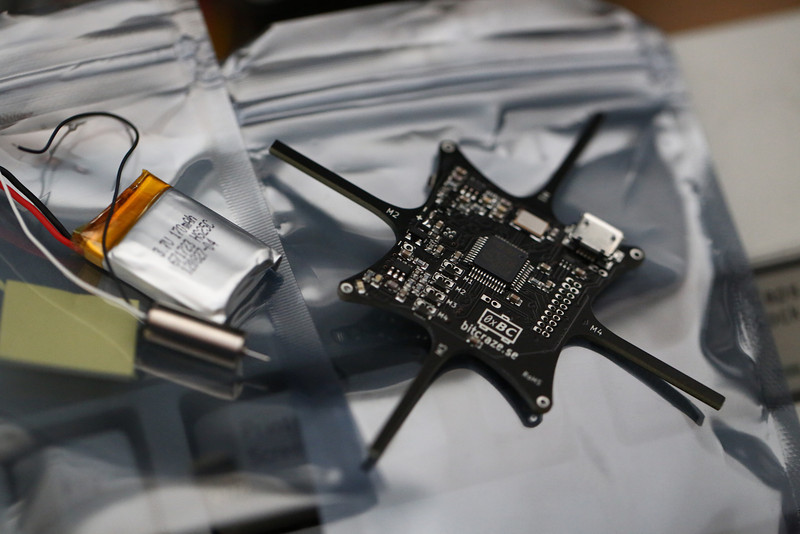
After an hour or so of nerve wracking soldering of the tiny wires I was done. M3 and M4 are decent, M1 OK but M2 is very close to being bridged. Don’t want to mess with it again though since it does work.
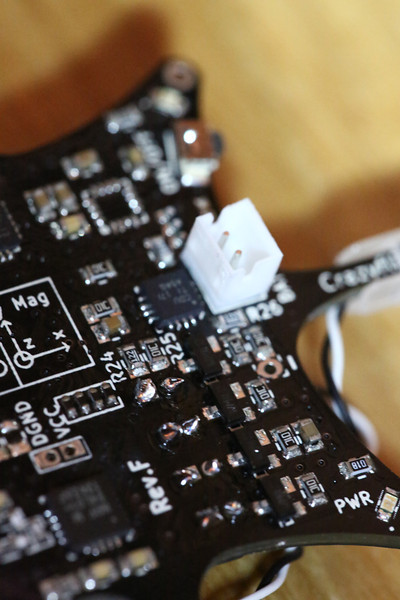
The partially sad results of my soldering.
Put propellers on, and connected the battery and charged it. Was nice to see all the motors spin as they should.
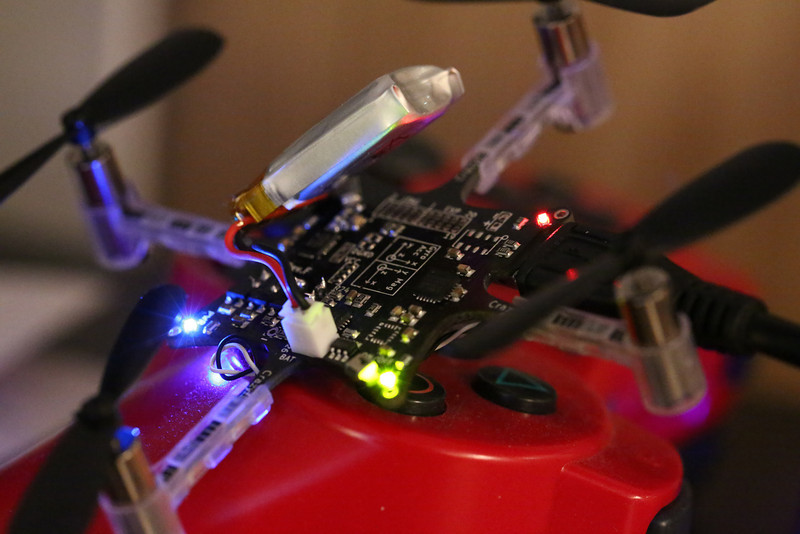
Put the propellers on and powered it up to see if everything seemed to be working.
Afterwards I got one of my PS3 controllers connected and after some fiddling with the mappings I could fly it with some success. It sure is crazy! It will take some practice to get it fully under control, and it would be nice to fly with a full sized RC remote instead. With the centering analog sticks of a PS3 controller you only have half the travel available for the throttle which makes it quite sensitive.